How to Connect a PostGIS Database to GeoServer – Guide
Introduction
This guide explains how to connect a spatial database in PostgreSQL/PostGIS with GeoServer, publish spatial layers as a WMS service, and then display them on a web map using the Leaflet library.
This process allows geographic data to be shared live via standardized services and integrated into any web application.
Creating a Workspace and Connecting to the PostGIS Database
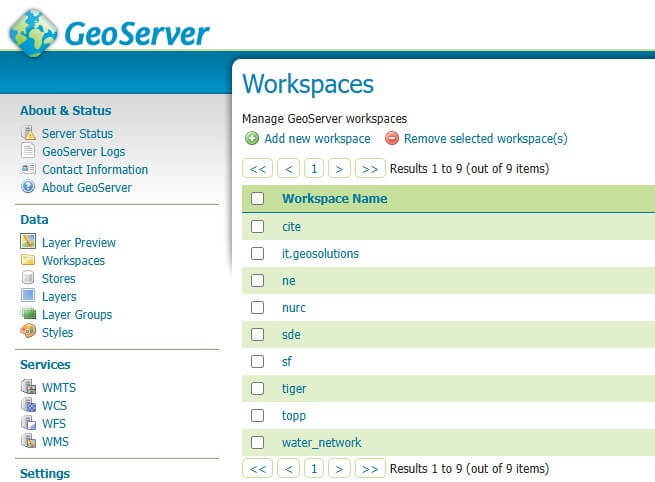
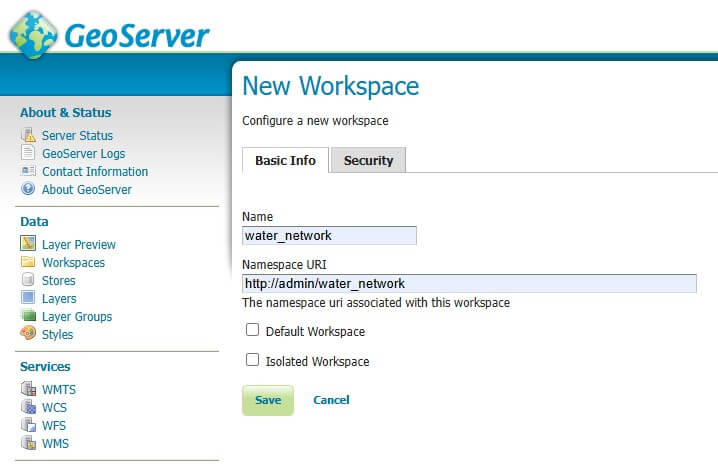
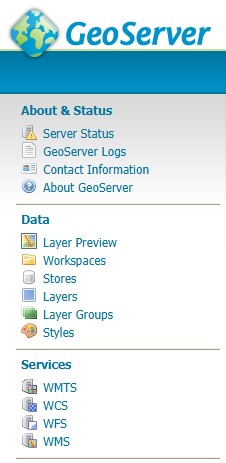
From the menu, select Workspaces and click Add new workspace. Enter a name, for example water_network. Save the workspace.
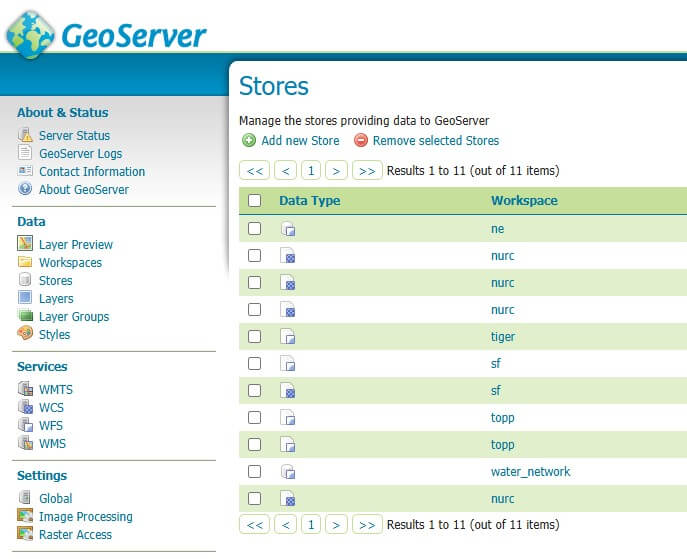
Next, add a PostGIS store:
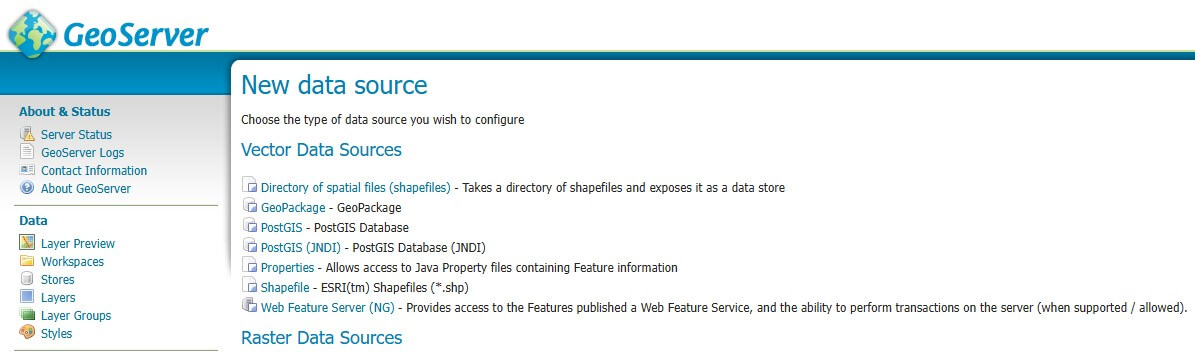
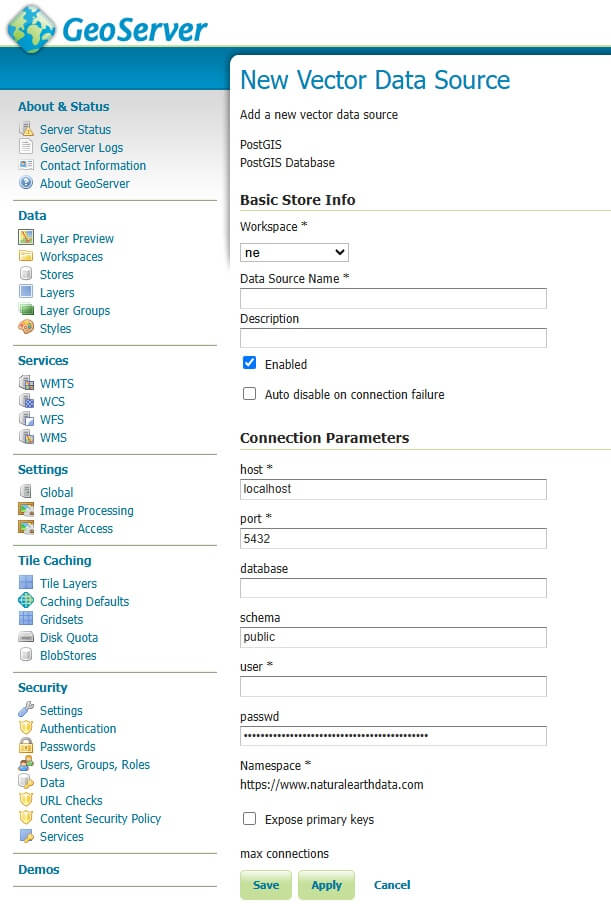
Go to Stores > Add new Store. Select PostGIS as the type.
Configure the connection parameters to the database: Host: localhost; Port: 5432; Database: the name of the database; Insert Username and password; Choose the workspace that was just created (e.g., water_network).
Click Save.
Publishing Layers from the PostGIS Database
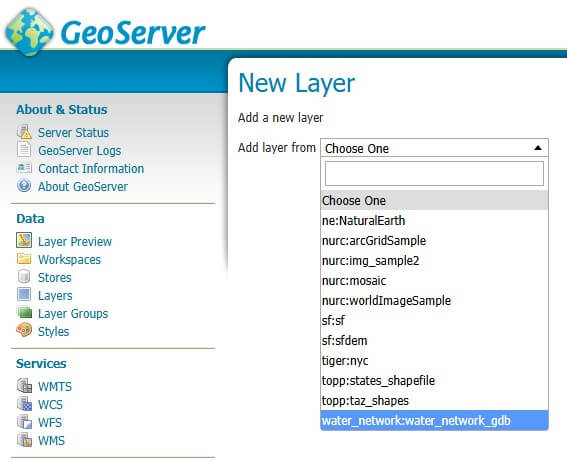
Go to Layers > Add new Layer.
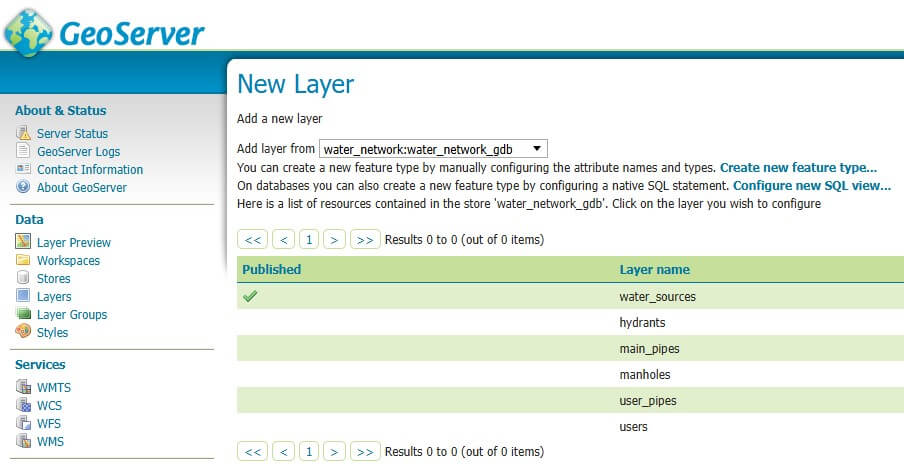
Select the store that was added.
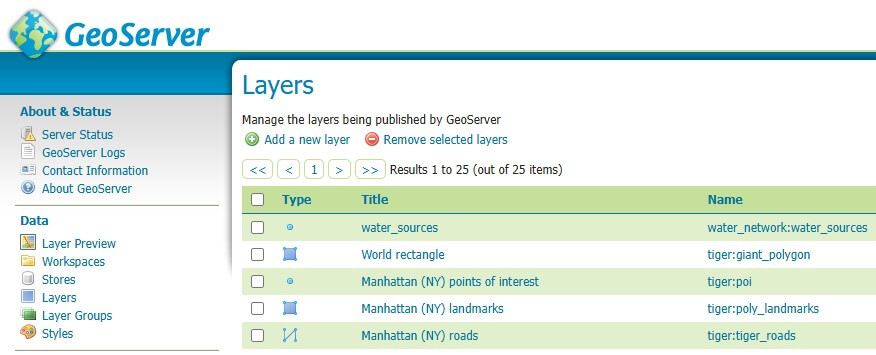
A list of tables from the database will appear. Select the layer (e.g., water_sources).
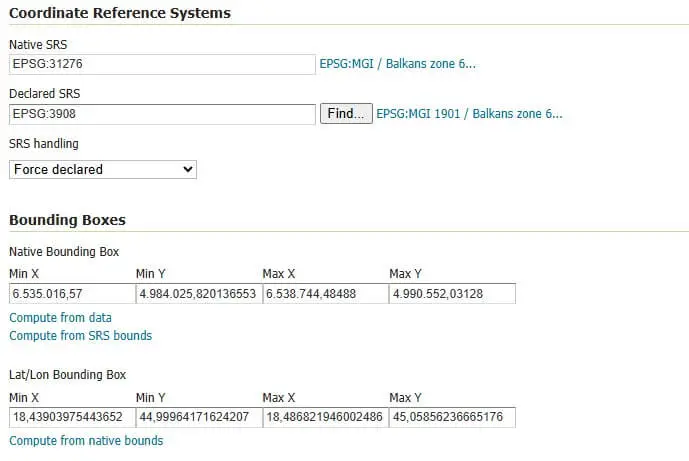
Ensure the coordinate systems and bounding box are set correctly. In this example, the selected coordinate system should be EPSG:3908 to ensure proper positioning on the map.
Additionally, for the bounding box, use the options Compute from data first and then Compute from native bounds to automatically set the correct extents.
Previewing the Layer in GeoServer Layer Preview
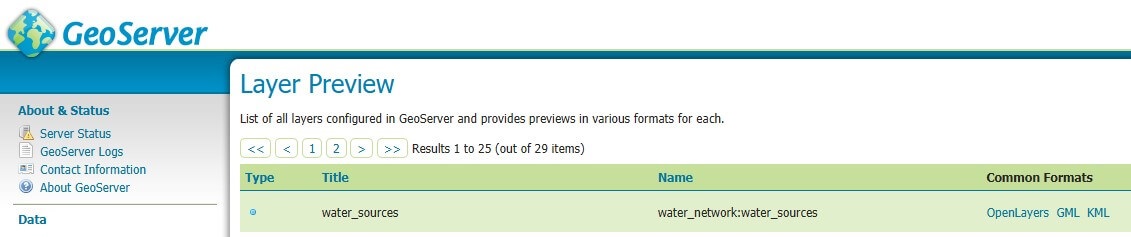
From the menu, go to Layer Preview.
Find the water_sources layer in the water_network workspace.
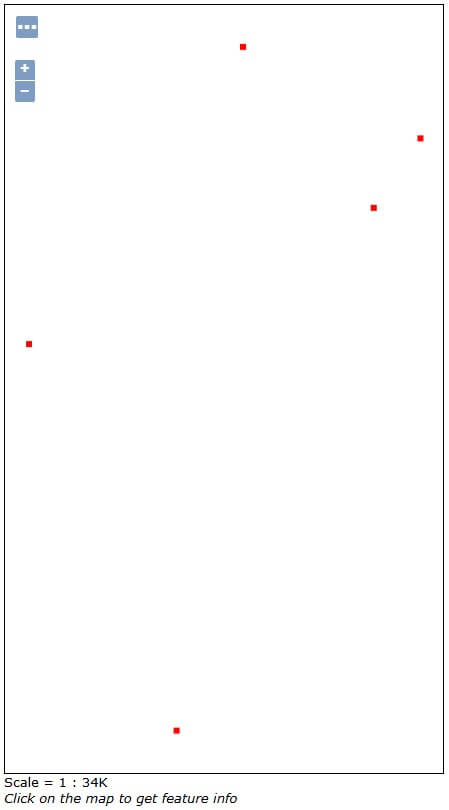
Click OpenLayers to view the layer. This preview allows users to quickly confirm that the layer is being served correctly by GeoServer.
However, this preview does not include a base map, so only the published features (e.g., points or shapes) will be visible against a blank background. This mode is intended for simple verification, not for presentation or integration into user-facing web maps.
Conclusion
This guide outlined the complete process: connecting a PostGIS database to GeoServer, publishing layers, and displaying them on a Leaflet map. This approach makes spatial data accessible and visualized on the web in real-time.